How to Downgrade Windows 11 to Windows 10 (Rollback Windows 11 to Windows 10)
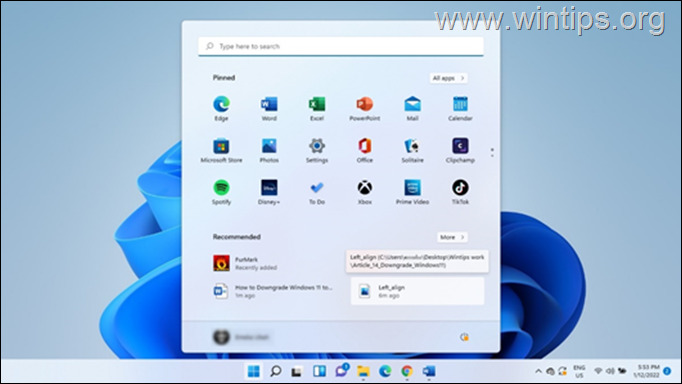
If you own Windows 11 and you want to downgrade to Windows 10, then continue reading this tutorial. The first thing that will catch your attention when you upgrade from Windows 10 to Windows 11 or purchase a new PC that is shipped with Windows 11 is the sleek design. To spice up the User Interface of the new Windows 11, Microsoft came up with a desirable and a refreshing User Interface that amplifies User’s Experience.
Contrary to what some user’s expect, the interface might be a bit difficult and complex to navigate. Some users also report that there are bugs and glitches that affects Windows 11 and Microsoft acknowledge these issues. These are notable reasons why you may decide to go back to Windows 10 which is more stable and easier to navigate.
Devices that meet the system requirements to install Windows 11, will received an update notification to download and install Windows 11. This offer gives the user the ability to upgrade their system to Windows 11 and try it out for a 10-day period to decide whether to continue using the new operating system or return to Windows 10.
In this guide, we will show you 2 ways to rollback Windows 11 to Windows 10.
How to Downgrade Windows 11 to Windows 10.
Method 1: Go Back to Windows 10.
Method 2: Install Windows 10 from Scratch (Clean Install).
Method 1: How to Rollback Windows 11 to Windows 10.
The first method for downgrading Windows 11 to Windows 10 is to restore to Windows 10 within 10 days of upgrading your system to Windows 11. This means that to rollback your Windows 11 system to Windows 10, you need to make sure that your computer has NOT exceeded the 10-day period allowed to go back to the previous version of Windows.
How to Go Back to Windows 10 from Windows 11:
Warning: When you downgrade to Windows 10, the programs/software you installed in Windows 11 will be removed. You need to reinstall those programs. For safety precaution, I will advise you to back up your data on an external drive before you rollback to Windows 10.
1. Press the Windows ![]() + I keys to launch Settings.
+ I keys to launch Settings.
2. Select the System tab from the left pane, scroll down and click Recovery.
3. In Recovery options, click the Go Back button. *
Note: If the Go Back button is missing, there are chances that the upgrade to Windows 11 has exceeded 10 days. Besides, it could also be that the device did not meet the system requirement, and was forced to install Windows 11. Hence, the PC cannot be reverted to the previous version.
4. In the go back to earlier build dialog box that appears, Microsoft wants to know why you decide to opt out. Tick any of the boxes you want and click Next.
5. A window will appear urging you to Check for Updates, click on No Thanks.*
* Note: If you select Check for Updates, your device will install pending updates that might fix the issues on your PC and keep Windows 11 running on your device.
6. Another dialog box will appear with information on what you need to know before proceeding. Click Next.
7. Finally click Go back to Windows 10.
8. At this point, the process of resetting your computer to Windows 10 will begin. On average, it takes about 30 – 60 minutes to complete the reset, depending on the speed of your computer and the size of your hard drive.
Method 2. How to Downgrade to Windows 10 from Windows 11 by Clean Installing Windows 10.
If your upgrade to Windows 11 is older than 10 days, or if your computer came with Windows 11 (without an upgrade), then the only option you have to go back to the previous version of Windows is to backup your files and to install Windows 10 from scratch.
To Install Windows 10, you can use one of the following methods:*
- Clean install of Windows 10 from USB, or…
- Install Windows 10 using the Media Creation Tool.
To Install Windows 10 using the Media Creation Tool:
1. Visit Microsoft Windows 10 download page and click Download the tool now.
2. Open the downloaded MediaCreationTool.exe file.
3. Click Accept to agree to the terms of service.
4. At next screen choose Upgrade this PC now and click Next.
5. The latest version of Windows 10 will begin to download. This may take some time to complete depending on the Internet and PC speed.
6. At Choose what to keep, select Nothing (that's the only option), and click Next. *
Attention: After you click Next, all your files and settings will be deleted. So make sure you back up your files to another storage device before continuing.
7. Finally select Install to start the installation process of Windows 10.
8. During Windows 10 installation, your PC will restart several times. It is nothing to worry about. Once it is complete, your PC will be back to Windows 10.
That's it! Which method worked for you?
Let me know if this guide has helped you by leaving your comment about your experience. Please like and share this guide to help others.
We're hiring
We're looking for part-time or full-time technical writers to join our team! It's about a remote position that qualified tech writers from anywhere in the world can apply. Click here for more details.
- How to Disable or Remove BitLocker from Windows RE. - April 24, 2024
- FIX: Error 0x8007025d in Windows 10 Update. - April 22, 2024
- How to Disable Device Encryption in Windows 11/10. - April 17, 2024


